
How To Tie A Christmas Bow
 Always wanted to know how to tie those beautiful designer-perfect bows? Here's an easy step-by-step tutorial… all you need is some ribbon, floral wire, and a pair of scissors (all things available at Dollar Tree for just $1 each). Add some pizzazz to all your holiday gifts, or make the perfect bow accent for wreaths, garland, trees, and more.
Shop Dollar Tree, Here's What You'll Need:
- Wire-Edged Ribbon
- Floral Wire
- Scissors
- Optional: Glue or Tape
Easy Step-by-Step Directions:
- Cut a piece of ribbon about 24" long. This will make a 4" bow. If you want a bigger or smaller bow, adjust the size accordingly.
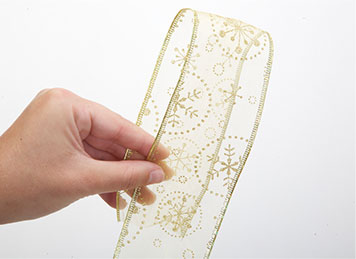
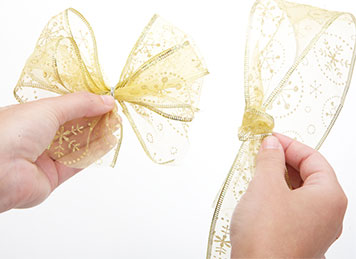
- At the top end of your ribbon make a 4-5" loop (see picture below). Both ends of the ribbon will be facing the floor and the loop will be facing the ceiling. The longest end of the ribbon should be closest to your body.
- Bring the long end of the ribbon up to create a second loop (see picture below). The longer end of your ribbon is now facing the ceiling and your second loop is facing the floor.
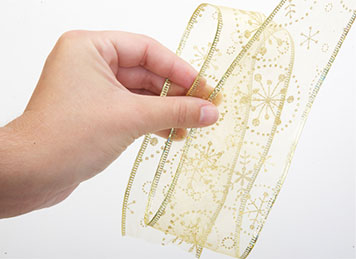
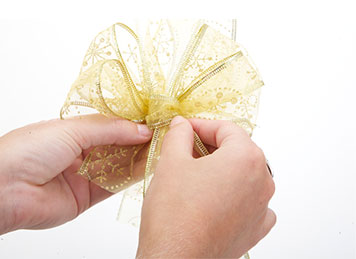
- Repeat steps 2 and 3 until you have 4 total loops (all of even length). Two of the loops face the ceiling and two of them face the floor (see picture below).

- Pinch the center of the ribbon and secure it tightly with a small piece of floral wire.
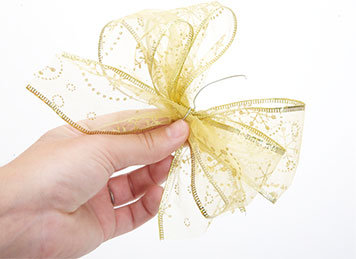
- Fan and fluff the loops to complete the bow.
- Cut a second piece of ribbon large enough to wrap around your package (include a little extra for tying).
- Tie a knot in the middle of this loose piece of ribbon (see picture below).
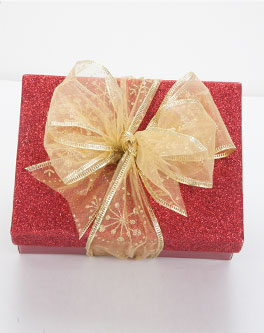
- Lay your finished bow on your package, aligning the knot (from the loose ribbon) to cover up the wire in the middle of your bow. This will give your bow a finished look AND attach it to the package.
- Tie the loose ribbon tightly to your package.
- For an added touch, cut a "V" shape from the tail ends of the ribbon.
- If you are tying your bow to an awkward shaped item (like a wreath) you may want to add a dab of glue or a piece of tape in between the knot on your loose ribbon and the wire on your bow for added security.
